To upload a file in Node.js, we can use the multer package, which is a middleware specifically designed for handling file uploads. Here’s an example of how we can use multer to upload a file:
For this purpose, we need to follow these steps:
Step 1: Create a Project folder
First, create a project folder here we are creating a project folder as UploadOperation
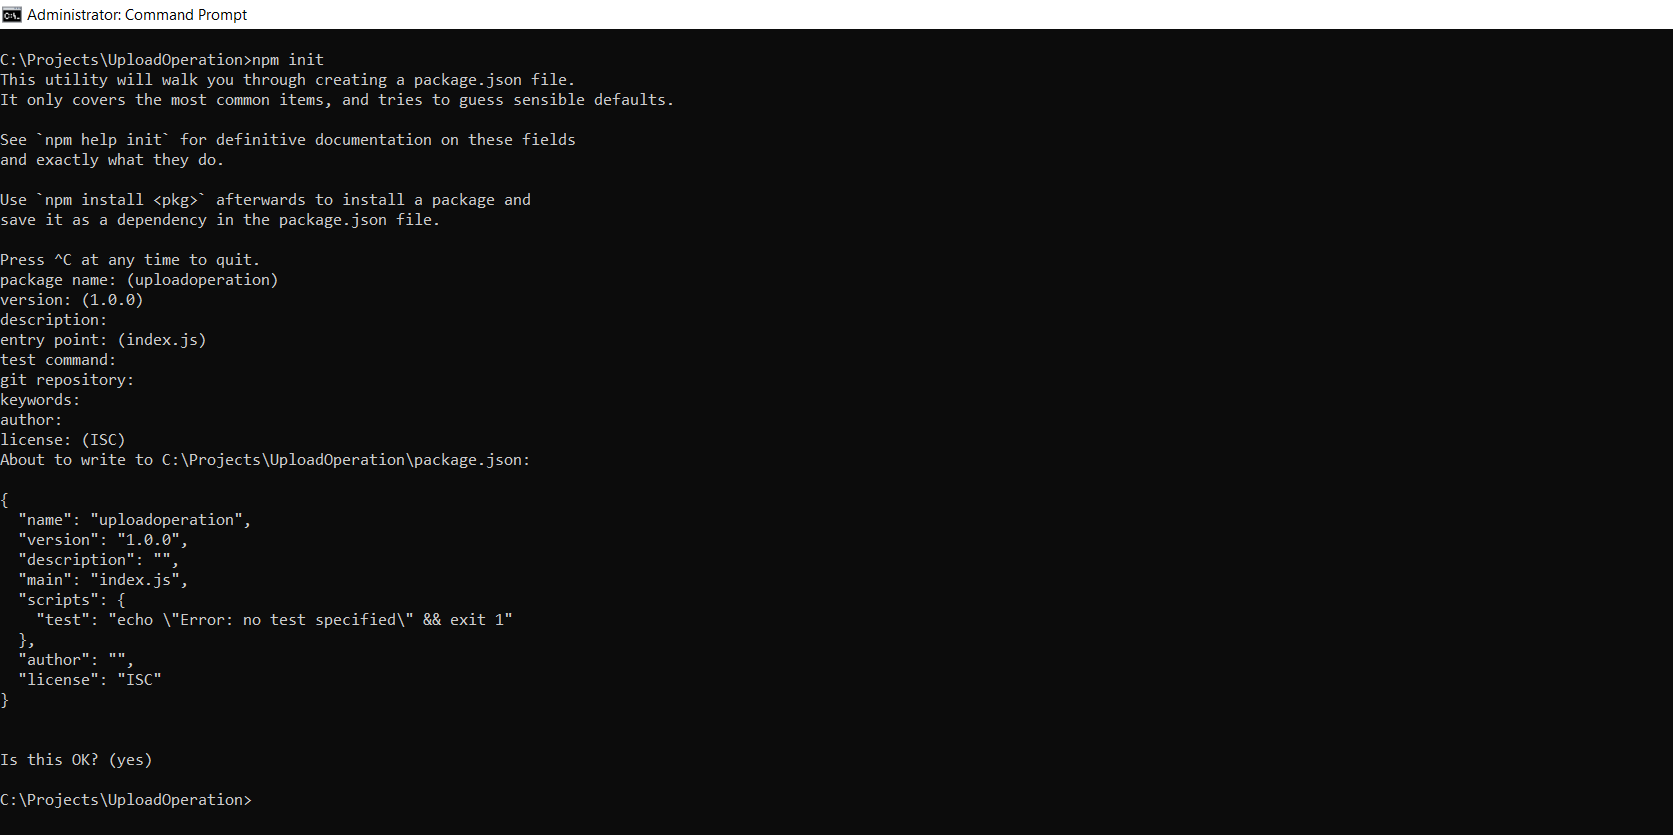
Step 2: Execute the npm init command
Basically, it is the first step for creating any node.js-based application. So we will open a terminal and execute the command as shown below.
npm init // initialize project

Step 3: Install Express and multer package
Because we are going to create express.js based application for uploading a file. So we need to install express package and for uploading files we need to install multer package.
So for that purpose, we need to execute these commands
  npm install express // for installing express package
  npm install multer  // for installing multer package
Step 3: Create an app.js file
At first, we will create an app.js file and add these lines of code.
const express = require('express');
const app = express();

// Start the server
app.listen(3000, function () {
  console.log('Server is running on port 3000');
});
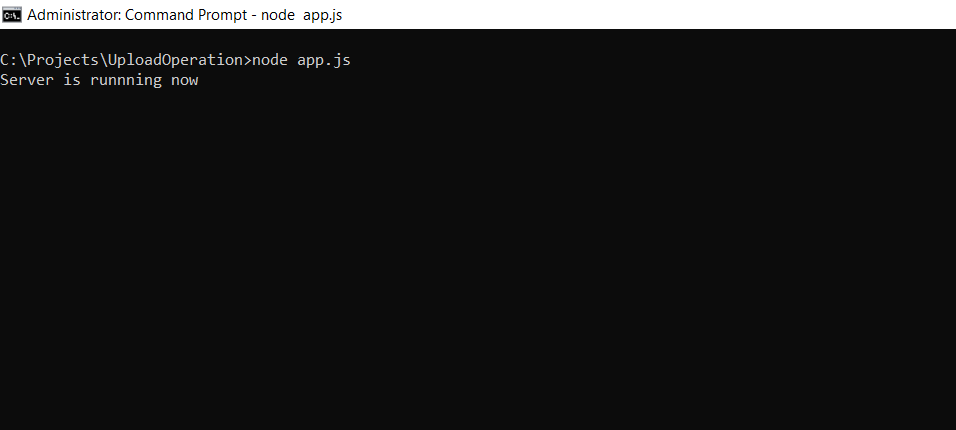
To check server is running or not open the terminal inside the project directory and execute the node app.js command. If has been started successfully then will get this response.

Step 4: Create a controller
The controller basically contains logic for uploading files. So for that purpose, we will create a controller folder in our project directory and then create an appController.js. After that add the following lines of code.
const uploadOperation=async(req,res)=>{
   if (!req.file) {
    res.status(400).send('No file uploaded.');
  } else {
    res.send('File uploaded successfully.');
  }

}
module.exports ={
   uploadOperation
}
Step 5: Set up the storage configuration for multer
Create a util folder in our project directory and then create a multerConfig.js file and add these lines of code.
  const multer = require('multer');
  const path = require('path');
  const storage = multer.diskStorage({
    destination: function (req, file, cb) {
      cb(null, './uploads/'); // Destination folder to store uploaded files
    },
    filename: function (req, file, cb) {
      const uniqueSuffix = Date.now() + '-' + Math.round(Math.random() * 1E9);
      const extension = path.extname(file.originalname);
      cb(null, file.fieldname + '-' + uniqueSuffix + extension); // Set the file name
    }
  });
  // Create the multer upload instance
  const upload = multer({ storage: storage });
  module.exports={
  upload
  }
In the above code, we have mentioned that our file will be stored in the uploads folder which is located in our project directory. So Here we will create an uploads folder.
Step 6: Create a router
The router basically denotes the path of our API. So here in our application to create router, we will first create a route folder and then create appRoute.js file and add these lines of code.
Step 7: Call the router in app.js
Now once again open app.js file and call our router as shown below
const express = require('express');
const {setRouter} =require('./route/appRoute')
const app = express();
setRouter(app);
// Start the server
app.listen(3000, function () {
  console.log('Server is running on port 3000');
});
Now once again execute node app.js command in our terminal inside our project directory. If we are getting output as shown below. Then it means our project has been started successfully and now we need to follow step 8.

Step 8: Open Postman and call API
Now we will open Postman add the API path select the file inside form data as shown below then call API.

Once we get a successful response from the API side that our file has been uploaded successfully then we will open our uploads folder inside our project directory and if it contains the file here then our upload operation has been completed successfully.
In our case, it has been done successfully as shown below.
